
Scones are one of my absolute favorite things to bake. I almost always have the ingredients, I have the base recipe memorized, and there seem to be endless ways to customize and tweak the add-ins. This makes them the perfect vehicle for adding all kinds of home-grown fruit. In this case, it’s wintertime -citrus season. And my blood orange tree is bursting with beautiful red-ripe oranges.
Blood oranges taste like a combination of tangerine and raspberry. They’re even sometimes called raspberry oranges. Can you guess where the inspiration for this recipe came from?
I love the balance of the sweet orange (it’s even sweeter than a regular orange!) and slightly tart raspberry with this buttery, flaky, craggy sour cream scone. The sour cream gives the scone a slight tang, which pairs perfectly with the chunks of fruit and sweet blood orange glaze.
Tips for Better Scones
First, never overwork the dough! Using a pastry blender or your fingers, cut the butter into the dry ingredients just until the mixture looks like wet sand, but you can still see some pea-sized chunks of butter.
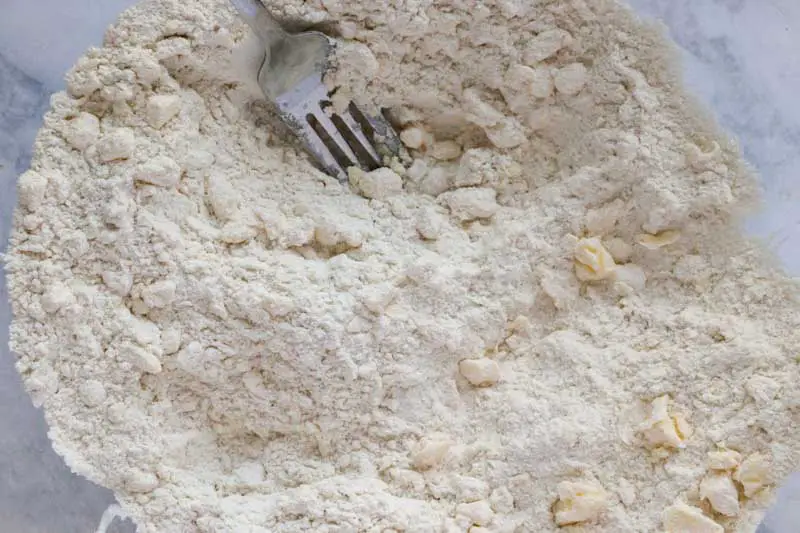
Also, work quickly to avoid any melting of the butter. Keeping the ingredients super cold is key to making the final scones light and tender. After you mix the wet ingredients (including the zest) in another bowl, pour them into the flour/butter mixture and gently stir with a fork until it has just barely come together.
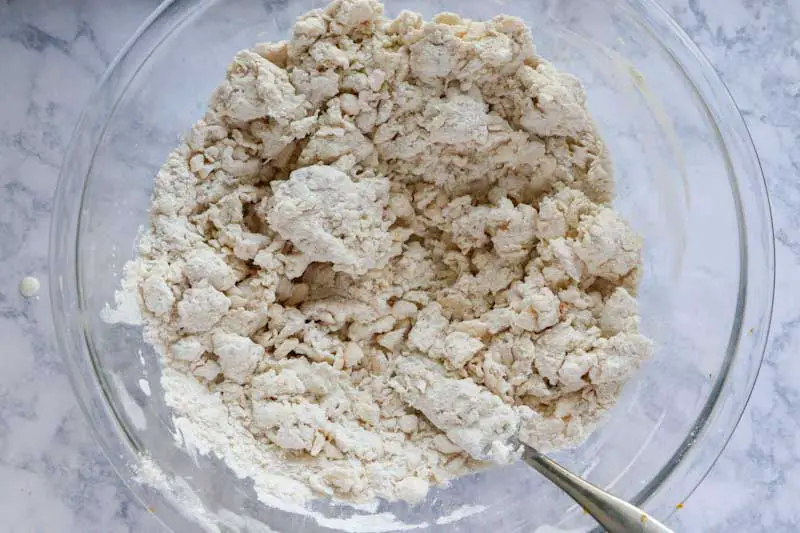
The dough should look pretty shaggy and not too wet. Resist the temptation to add more liquid (although you may need a tablespoon or two of extra cream if it’s extremely dry). Then add the fruit and gently stir, being careful not to break up the fruit or overwork the dough.
Speaking of the fruit, you can use fresh or frozen raspberries in this recipe. Just be very gentle when mixing to avoid breaking the raspberries into mush. I like to freeze my fresh-picked raspberries in a single layer on a cookie sheet, then transfer them to a freezer bag so I can just grab what I need for whatever recipe I’m making.
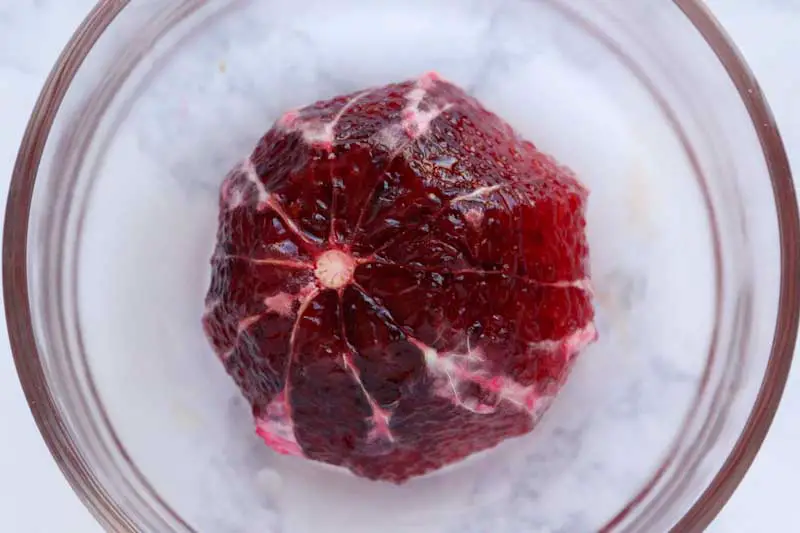
For the blood oranges, the good news is that they peel easier than most oranges. I cut them into “supremes,” meaning that after you peel them, use a sharp knife and carefully cut between the membranes for perfect little slices. Then I chop each slice into two or three pieces. Fresh picked oranges have thinner skin than storebought ones, so be careful when zesting.
I’ve found that by adding the fruit to the dough at the very end and just gently tossing, the fruit stays intact. You want a little orange and raspberry in each bite, without them disintegrating into the mixture.
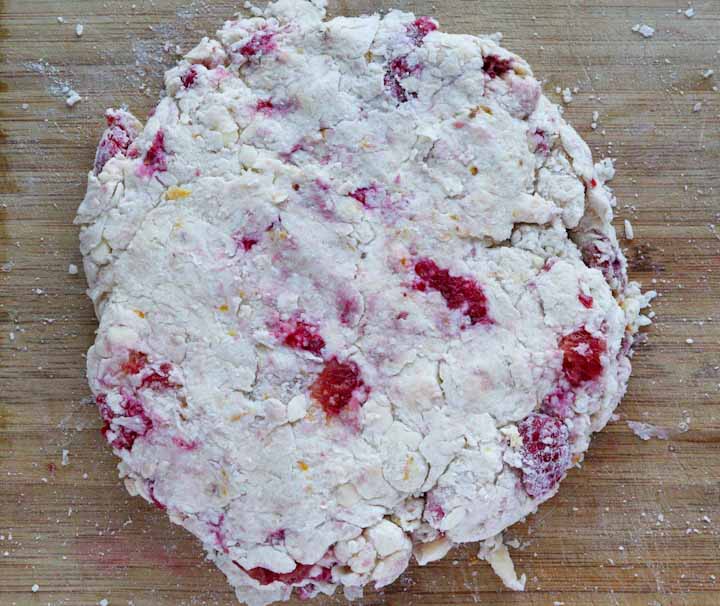
Once it’s just come together, dump the shaggy dough onto a floured surface. Fold the dough over gently a few times to create layers in the scones (if it gets a little sticky, just sprinkle some more flour). Then pat the dough into an 8-inch circle about 1 ¼-inch thick. Cut into 8 wedges and place on a parchment-covered baking sheet.
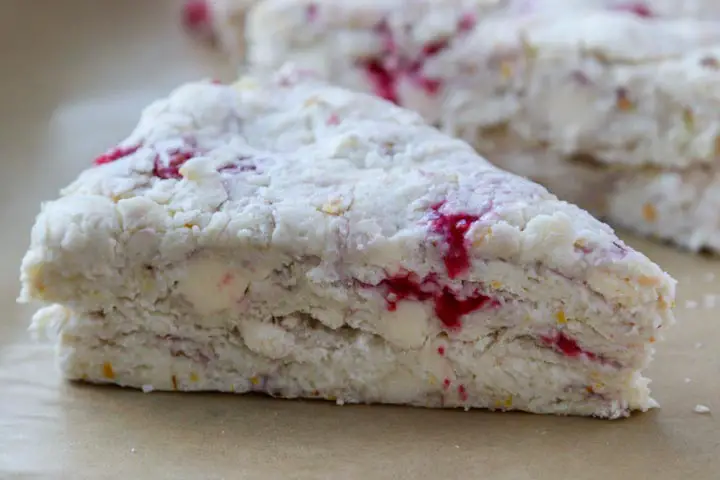
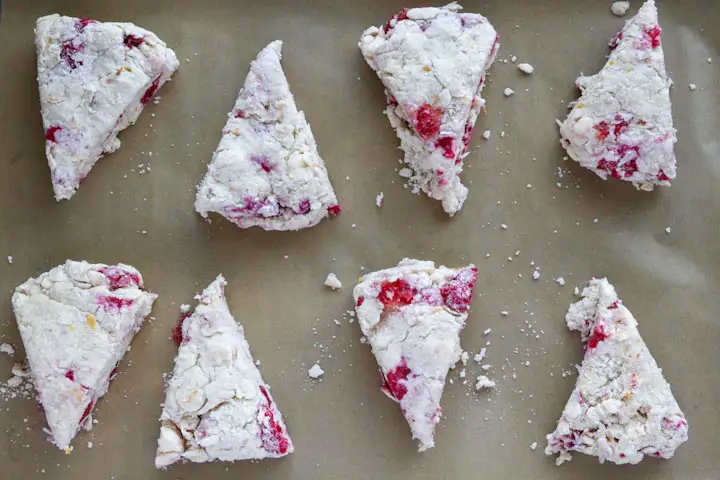
Freeze the unbaked scones for 15 – 20 minutes. You do not want to skip this step! I’ve done that when in a hurry…and then been disappointed by flat, droopy blobs instead of tall, flaky, tender scones.
After baking, slide the scones off the pan and onto a baking rack as soon as you can move them. Steam can get trapped between the scone and the sheet pan, creating the dreaded “soggy bottom.” Once they are cooled, then drizzle the glaze on top. Pour a cup of coffee or tea and dig in!
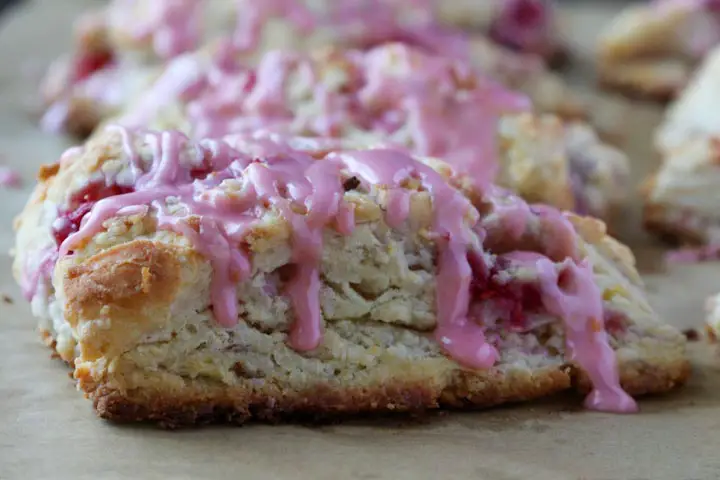

Blood Orange Raspberry Sour Cream Scones
Equipment
- half sheet pan
- parchment paper
- pastry blender optional
Ingredients
Scones
- 2 cups all-purpose flour plus a little more for dusting
- ¼ cup granulated sugar
- 1 TBSP baking powder
- ½ tsp salt
- 8 TBSP cold, unsalted butter cut into cubes
- ½ cup full-fat sour cream
- ½ cup plus 1 TBSP chilled heavy cream or whole milk
- zest from 2 blood oranges (about 1 TBSP) reserve 1/4 tsp for glaze
- ½ cup frozen or fresh raspberries roughly chopped into ½-inch pieces
- 1 blood orange peeled, sectioned, and chopped into ½-inch pieces
Glaze
- 1 TBSP fresh blood orange juice
- ¼ tsp reserved blood orange zest
- ½ cup powdered sugar
Instructions
- Preheat the oven to 425°F (220°C) and place a rack in the center. Line a baking sheet with parchment paper and set aside.
- Prepare the dry ingredients: In a large bowl, combine the flour, sugar, baking powder, and salt using a fork or whisk. Add the cold cubed butter pieces. Using a pastry blender or your fingers, cut in the butter until the pieces are no larger than a pea. There should be some chunks of butter still visible in the flour mixture.
- Prepare the wet ingredients: In a medium bowl or a large liquid measuring cup, combine the sour cream, ½ cup heavy cream or milk (reserve the 1 TBSP), and the blood orange zest. Create a well in the center of the dry ingredients, then pour in the wet ingredients.
- Using a fork, stir until everything just starts to come together. If the dough looks too dry, add the additional TBSP of cream. Add the raspberry and blood orange pieces. Gently stir the dough until everything is just combined. Do not overwork the dough (it’s ok if there are some dry spots still visible).
- Turn the dough onto a clean, lightly floured counter or board. Using a bench scraper and your hands, gently fold the dough over onto itself a few times. The dough should be slightly sticky, but not too wet. Pat the dough into an 8-inch-diameter circle, about 1 ¼ inches thick.
- Using a large sharp knife, cut the dough into 8 wedges. Transfer the wedges to the parchment-lined baking sheet, leaving about 2 inches of space between each scone. Chill the unbaked scones for 15-20 minutes in the freezer. Bake for 18 to 20 minutes or until golden brown on top. Immediately move the scones to a cooling rack to cool down before topping with the glaze.
- Make the glaze: Combine the glaze ingredients until smooth. If the glaze is too thick, add a little more blood orange juice. If the glaze is too thin, add powdered sugar one TBSP at a time, until desired thickness.
- Once the scones are cool, use a spoon to drizzle the glaze on top. Allow the glaze to set for 5-10 minutes before serving (if you can wait that long!).
TIPS
- Keep the ingredients cold! This is essential to get the perfect buttery, flaky texture.
- Don’t overwork the dough. Overmixing is the easiest way to go wrong and end up with tough scones.
- Once the scones come out of the oven, put them right on a cooling rack to prevent the bottoms from becoming soggy.
- I prefer scones fresh out of the oven the day they’re made, but you can refresh them by leaving them unglazed, then popping them in a 350°F oven for a couple of minutes to crisp up the outside. Then add the glaze, and enjoy.
- You can easily freeze and reheat these scones once baked, even with the glaze on top. (I like to bake a double batch and freeze the leftovers.) Put the frozen scones on a baking sheet and place them in a cold oven. Turn the oven to 300°F and wait for it to heat up. Check the scones once the oven comes to full temperature. Depending on your oven (and how long it takes to heat up), you may need to leave the scones in for a few extra minutes so they aren’t cold in the center.

